Posted December 21st, 2015 at 9:41 am by Dan Musick
Since we first posted our custom High Lift Garage Door Conversion instructions several years ago, we have noticed a few things that need to be improved through assembly modifications.
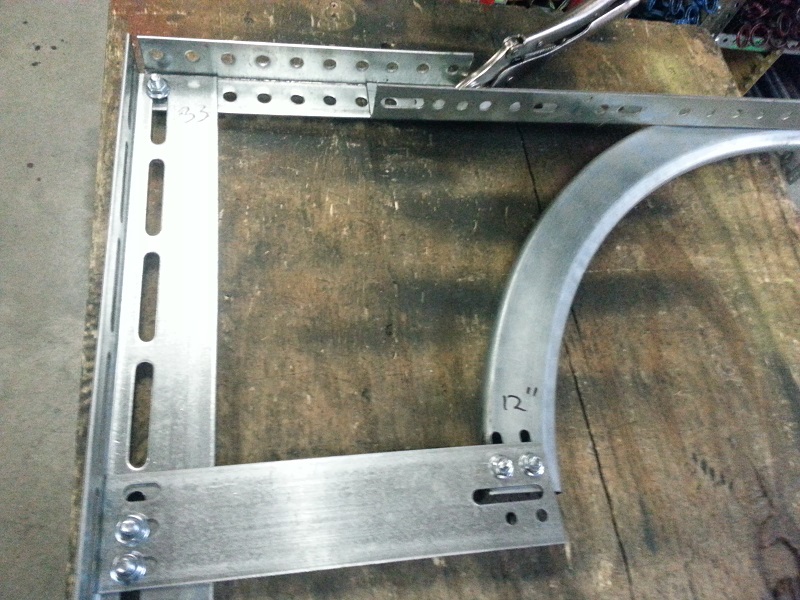
One was the alignment of the horizontal and vertical angles in step 7.11.
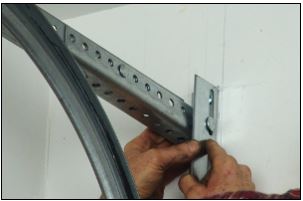
This created a problem with the fitting of the end bearing plate in step 7.21. In our instructions, we show cutting the angle to get the plate to fit.
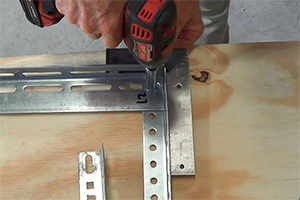
A second problem that plagued me for several years was our assembly instructions. We originally showed the extra work of sliding the brackets along the vertical high lift angle at the end. These instructions also lacked detail, and the step-by-step procedure needed honing.
The solution for both problems was to redo the instructions. In the new tutorial, we show how to assemble the components starting from the top. Assembling the vertical and horizontal angle first and then working your way down to the track extension. We included this change in the new high lift track assembly instructions we posted this fall.
An added advantage to this is that it reduces the possibility of the junction bolt coming loose and the door losing its level. It probably also cut the assembly time in half for our customers.
On some tracks, the horizontal track angles are rotated 90 degrees. The assembly for these is slightly different.
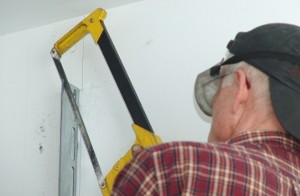
Angle to Cut your Tracks
A third change we expect to make in the coming months is the angle for cutting the ends of the vertical tracks extensions. In our tutorial, we specify four degrees, which works for most doors. In our Garage Door High Lift and Vertical Lift Inquiry, the information you now enter allows our new program to specify the angle for cutting the ends of the tracks. If you see a note in your high lift kit or in your correspondence regarding the angle to cut your tracks, use this angle and not the four inches specified in our program.
A fourth change is to show pictures of double spring installations as we show on our garage door torsion spring replacement page. Our original program shows how to install a high lift with only one spring. We also want to show what a four spring setup looks like for the heavier doors.
A fifth change we want to show is how to install hardware with a shaft coupler. When converting to high lift, if you don’t have a shaft, and if one is not available locally, we can send two shorter shafts with an extra spring anchor bracket and coupler.
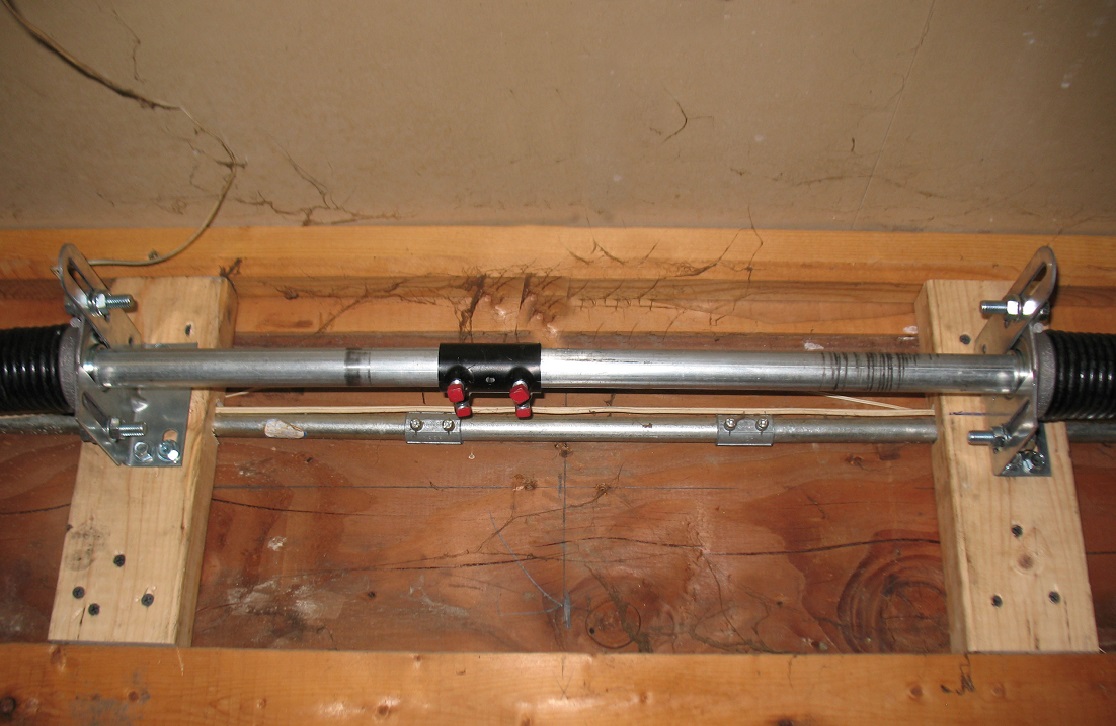
This has also worked with 18′ wide doors where we sent, by FedEx, two 8’9″ shafts. In addition to one 2′ shaft for the middle, two couplers, and two spring anchor bracket kits.
Spring Anchor Bracket
The sixth change has to do with heavier springs on high lift doors. We designed the program to spec idler support brackets for torsion springs that weigh over 20 pounds. These are normally installed just beyond the winding cone of each spring after it is wound. The formula for determining placement is (#turns on spring X wire size) + 2″. In most cases, you can move the bracket a foot or so to align with a stud.
The last change has to do with special applications where a customer needs to convert from double low headroom tracks to high lift. This may occur when you remove a loft from above the door. In addition, when you move a low headroom door from one location to another.
In the coming months, we hope to incorporate these high lift assembly modification changes into the revised tutorial. Your patience is appreciated.
This entry was filed under Customer Input, News, Technical Support. You can follow any responses to this entry through the RSS 2.0 feed. You can skip to the end and leave a response. Pinging is currently not allowed.

Leave a Reply